Add the employee’s family details via Admin access.
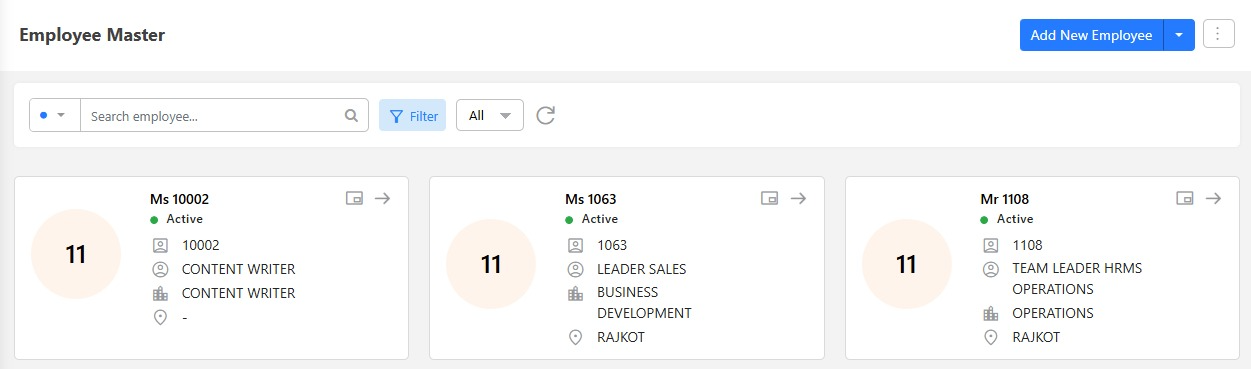
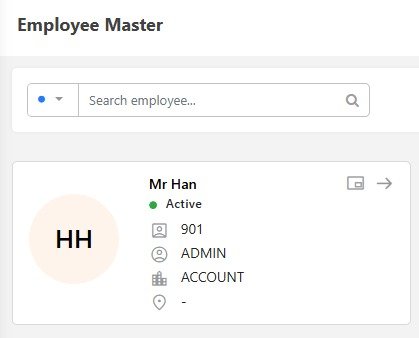
- To add an employee’s family details, go to Organizations > Employee > Employee Master, or simply search for ‘Employee Master’ in the search bar.
- Click directly on the employee profile, or use the search bar on the Employee Master screen to find a specific employee.
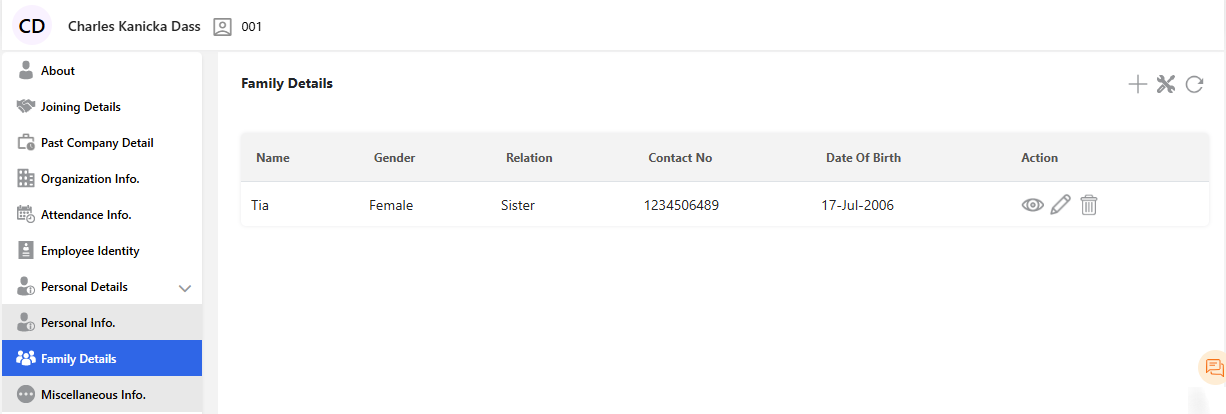
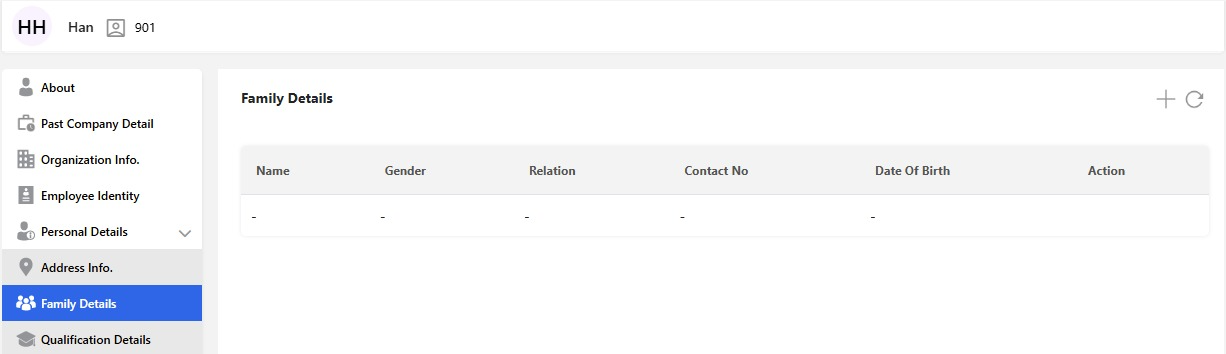
- In the About section, under Personal Details, click on Family Details.
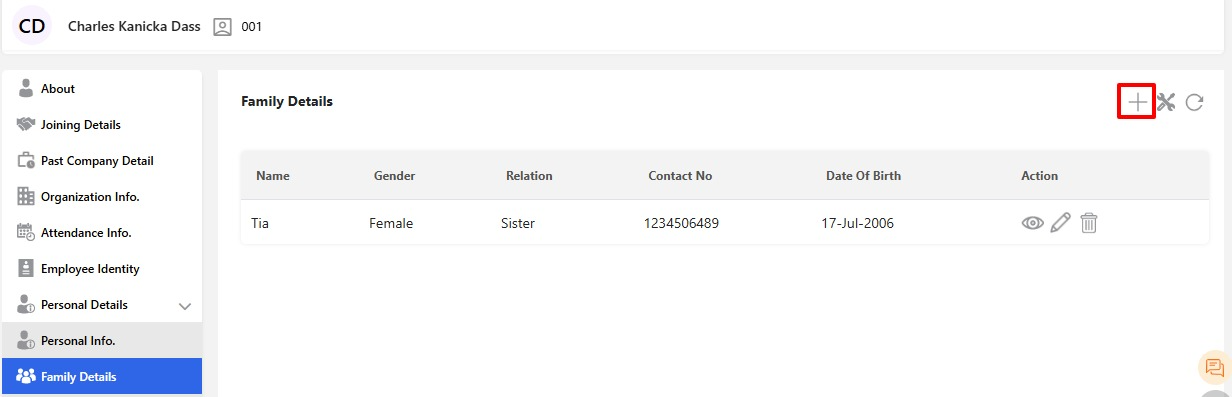
- Click the ‘+’ icon to add family details. A new screen will appear.
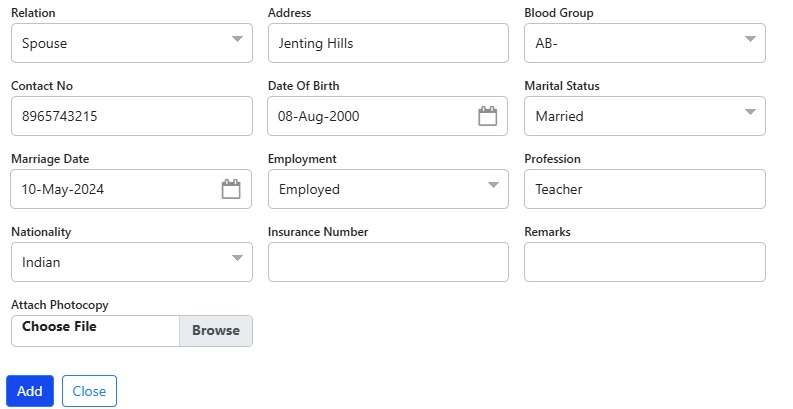
- Select the “Health Insurance” and “Is Dependent” checkbox if it applies to the employee or their dependents.

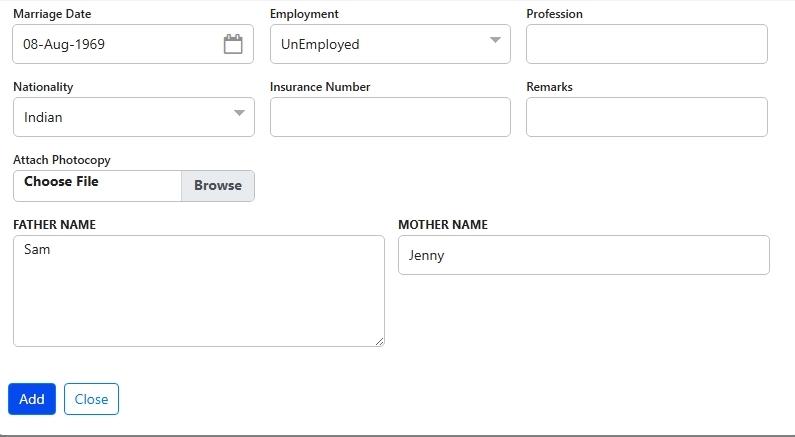
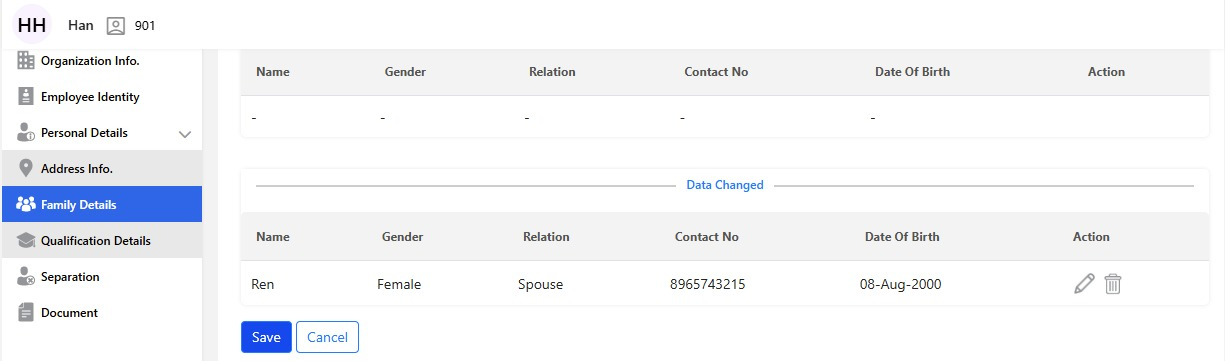
- Then, fill in all the relevant fields in the Family Details screen.
- Once all required details are entered, click on ‘Add’.
- Then click ‘Save’.

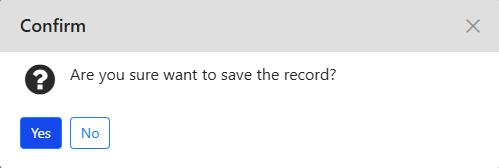
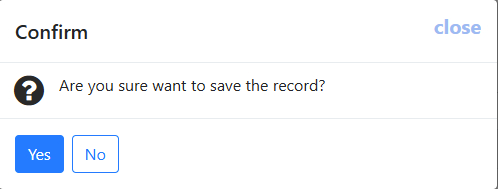
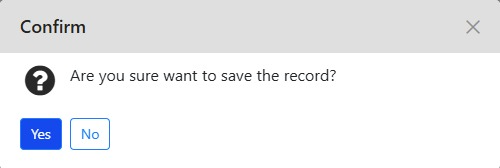
- A confirmation message will appear; click ‘Yes’ to proceed with adding the record.
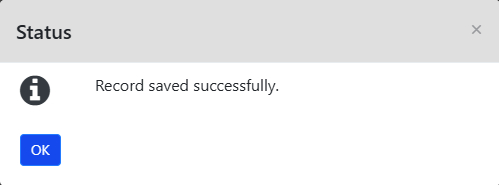
- If all the fields are filled, you will receive a “Record saved successfully” message.
- The record can be viewed, edited, or deleted.

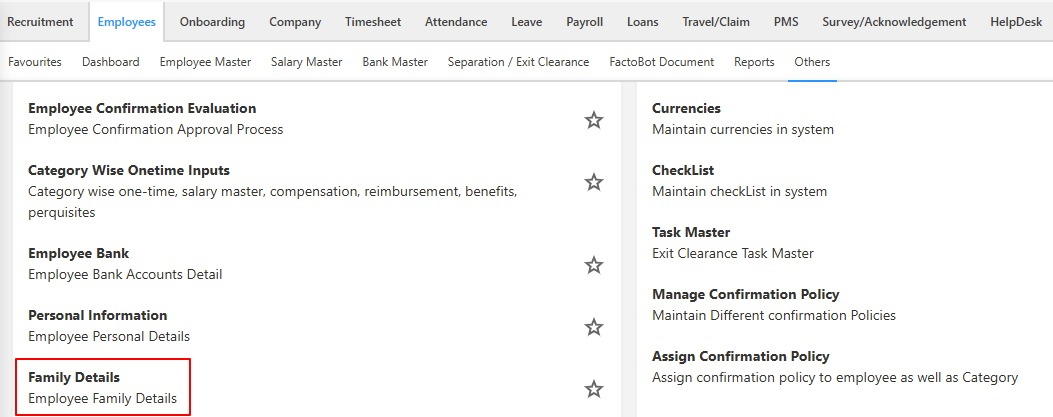
- Another way to add an employee’s family details is by navigating to: Organizations > Employee > Other. Under the Transaction section, select Family Details.
- Alternatively, you can search for “Family Details” using the search bar on the home screen.
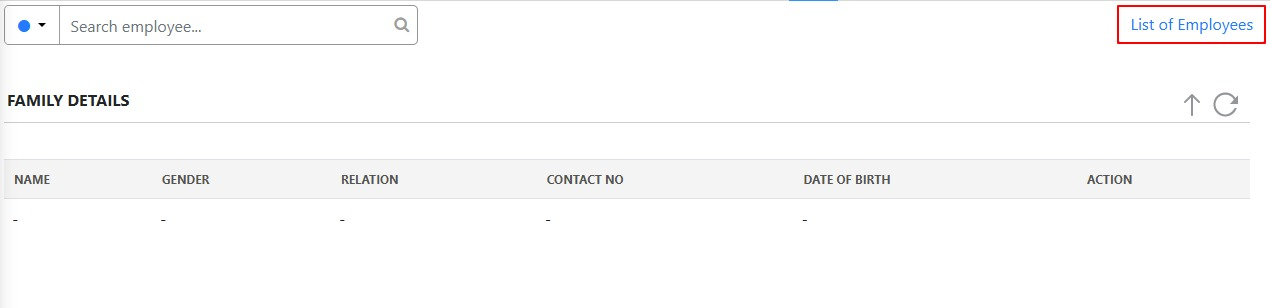
- In the Family details screen, you can select active, inactive, or all from the dropdown menu, then enter the code of an employee for whom you wish to add family details.

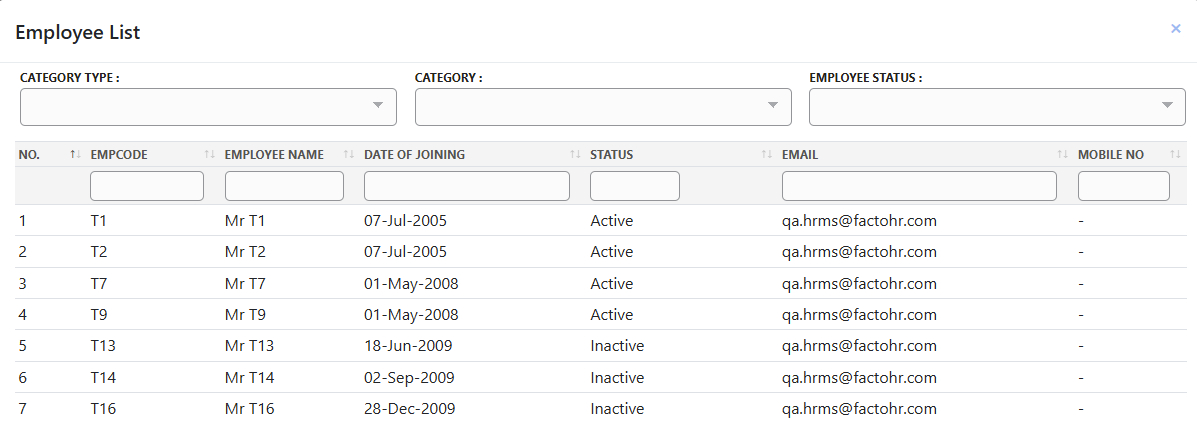
- Search for an employee directly by clicking on the List of Employees and then selecting the employee.
- Click the ‘+’ icon to add family details. A new screen will appear.
- The Family Details screen will appear, and the rest of the process will be the same as above.
Admin Can Also Add Family Details in Bulk.
- Click on the Upload. You will get three options.
- Data Import from
- Data Import from a file and
- Download template
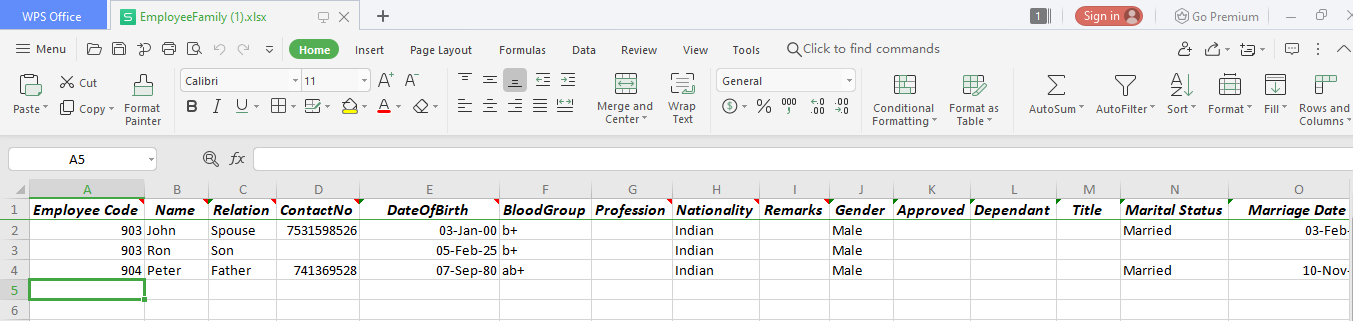
- Click ‘Download Template’ to download the Excel file named EmployeeFamily.xlsx.
- Enter the family details for the employees whose information needs to be added.
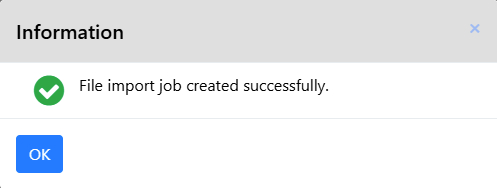
- A message will appear to confirm that the records have been saved successfully.
- Click the ‘Save’ button to save the record.
Steps for Employees to Add Family Information via the ESS Portal
- Go to SelfService > Employee > Employee Master > Click on the Employee profile.
- In the About section, under Personal Details, click on Family Details.
- Click the ‘+’ icon to add family details. A new screen will appear.
- Tick the “Is Dependent” checkbox, and select the Health Insurance checkbox if it applies to the employee or their dependents.

- Then, fill in all the relevant fields.
- Once all required details are entered, click on ‘Add’.
- Then click ‘Save’.
- A confirmation message will appear; click ‘Yes’ to proceed with adding the record.
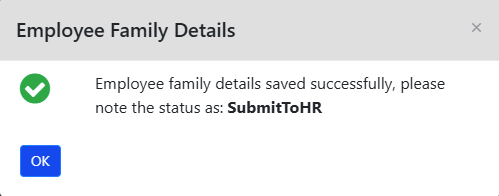
- If all the required fields are filled, you will receive a “Record saved temporary, Please click on submit to proceed” message.

- Click the green checkmark to submit the request to HR for approval.

- A confirmation prompt will appear. The record can be viewed or edited.
- Click “Yes” to submit the record for HR approval.
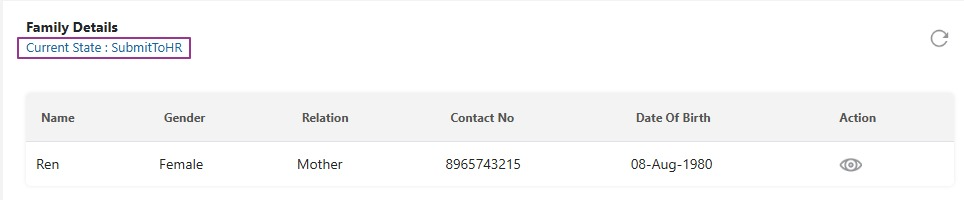
- The current status is displayed as “Submit to HR.”
- Another way to add family details is by navigating to: Home > Selfservice > Employee > Other. Under the Transaction section, select Family Details, or simply search for “Family Details” using the search bar.
- Click the ‘+’ icon to add family details. A new screen will appear. Steps are the same as above from 4th point.
- Tick the “Is Dependent” checkbox, and select the Health Insurance checkbox if it applies to the employee or their dependents.
- Then, fill in all the relevant fields.
- Once all required details are entered, select ‘Add’ and then click ‘Save’.
- A confirmation message will appear; click ‘Yes’ to proceed with adding the record.
- If all the required fields are filled, you will receive a “Record saved successfully” message.
- The record can be viewed or edited.
- Click the green tick to submit the record to HR.
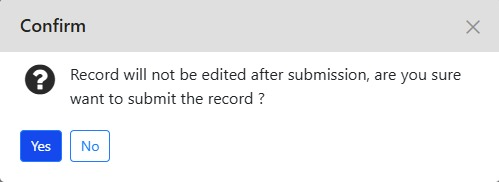
- A confirmation message will appear: “Record will not be edited after submission, are you sure you want to submit the record?”
- Click “Yes” to submit the record for HR approval.
If you have opted for onboarding, you can directly send a link to the candidate who has accepted your offer to enter their details.
Go to Organization > Onboarding > Candidate Master, or simply search for Candidate master in the search bar.
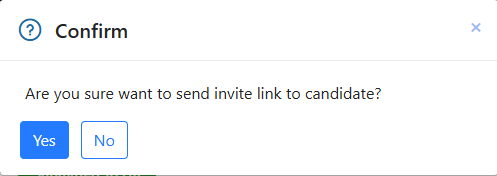
You’ll have several actions available for each candidate, such as sending offer letters, viewing or opening applications, and sending an invitation link. For candidates who have accepted the offer, you can send invite link directly to have them fill in their details.

A confirmation prompt will appear on the screen. Click “Yes” to proceed.
A “Successful invite sent” message will appear on the screen.
Candidates will receive the link via their registered email to complete their personal information. (Note: The candidate can enter details based on the rights provided to them.)
This simplifies the HR team’s workload, as they only need to share the link with the candidate.
The process to add employees’ family details can be done either by the Admin for centralized management or by employees through ESS for self-service. This ensures accurate, timely, and easily maintained records.
Note: If approval is enabled, simply saving the entry isn’t enough. You need to submit it for review and approval to complete the process.