Upload employee documents (Admin access)
- To add employee documents in bulk:
- Go to Organizations > Onboarding > Document Entry, or simply search for ‘Document Entry’ in the search bar of the home screen.
- On the left side of the screen, you will find the following options:
- Search,
- Add (+),
- Upload,
- Bulk Upload,
- Refresh and
- Document type

- If a document already exists, you can search for it using the search icon.
- When you click the icon, a screen will appear showing a list of documents. You can refine your search using the fields provided, such as employee code, document type, or related entity.
- Click on “Upload.” Then download the template—an Excel sheet will be saved to your device.

- It will contain the following fields:
- Related to (Specify whether the document is related to the employee, the company, or a dependent.)
- Employee code (Specify the employee code for the employee whose document you want to add.)
- Dependent (Specify if the document is related to any dependent.)
- Document Type (Specify the type of document you are uploading, for example, Aadhaar, PAN, Driving License, etc.)
- Document Number (Specify any relevant number, such as a letter reference number.)
- Expiry Date (Enter the expiry date of the document.)
- Issue Place (Specify the location where the document was issued.)
- Date of issue (Specify date on which the document was issued.)
- Remarks (Add any comments or notes, if necessary.)

- After entering the document details for multiple employees, click “Upload” and select “Import Data from File.”

- Select the Documententry. xlsx file containing the details you’ve added, then upload it.
- Using “Upload,” you can add details related to the documents, and with the help of “Bulk Upload,” you can upload the documents in bulk.
- Now, upload the document using the “Bulk Upload” option.
- Clicking the “Bulk Upload” icon will present two options:
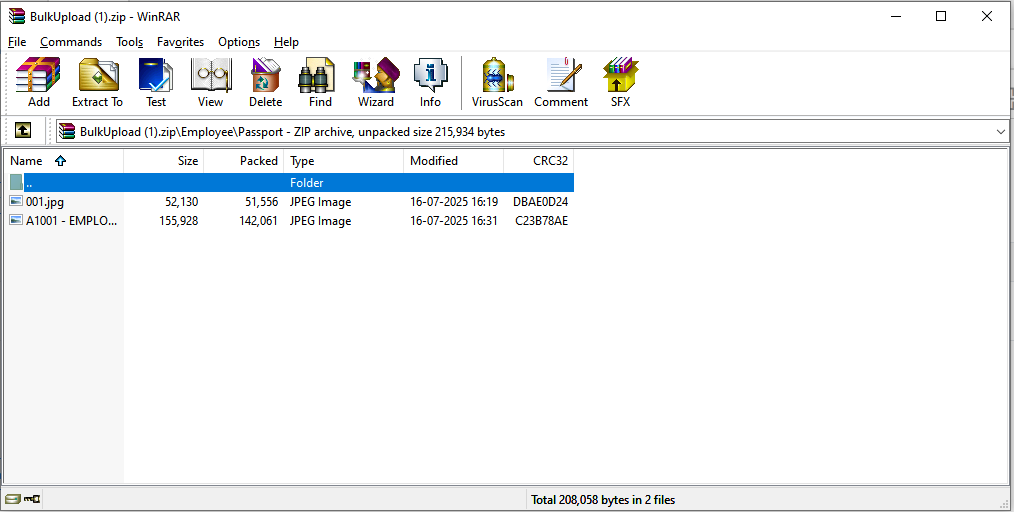
- Upload Document – Allows you to upload a document. (Note: Please ensure the document is included in the same bulk upload ZIP file with the employee code before uploading.)

- Download Structure – Lets you download the required format for uploading documents.
- You will receive the upload results. If any documents are excluded, you can download a list of those files with error details, fix the issues, and re-upload the corrected documents.
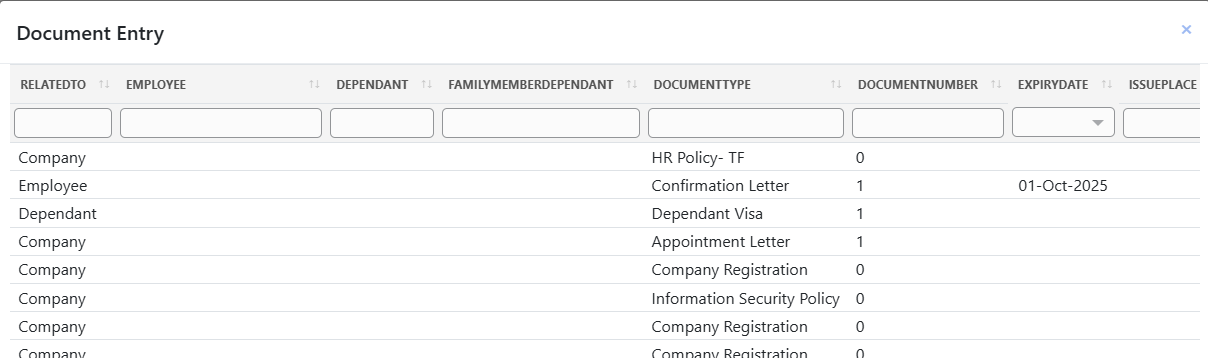
- Once uploaded, the document will appear on the screen, displaying its type, document number, employee code (if applicable), expiry date, remarks, and available actions, such as viewing the attachment, viewing the entry, editing, or deleting the document.
- The last is “Setting icon”. Clicking on it will display the Document type. From that screen, you can see the list of document types and details related to them. You can add, upload, view, edit, and delete them.
Adding a single document is also allowed. - Go to Organizations > Onboarding > Document Entry, or simply search for ‘Document Entry’ in the search bar of the home screen.
- The document entry screen will appear.
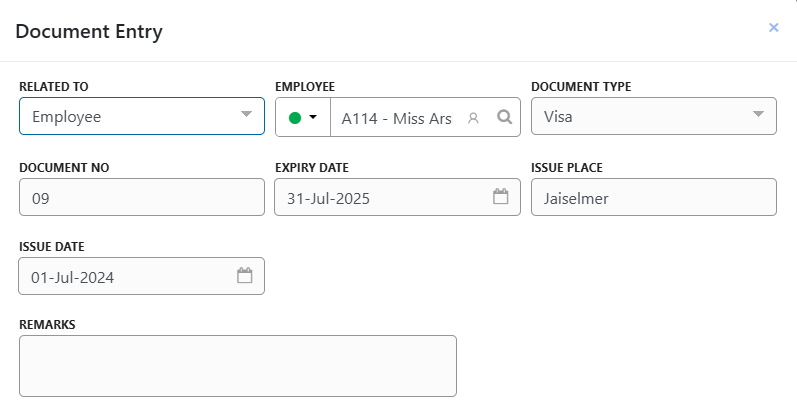
- Clicking the “+” icon will open a new screen. Fill in all the fields.
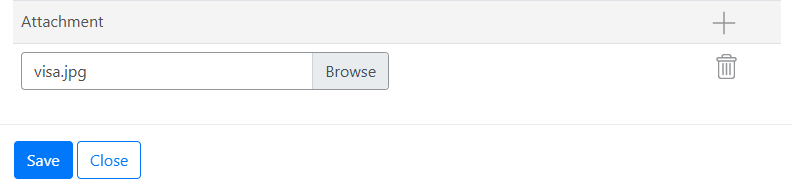
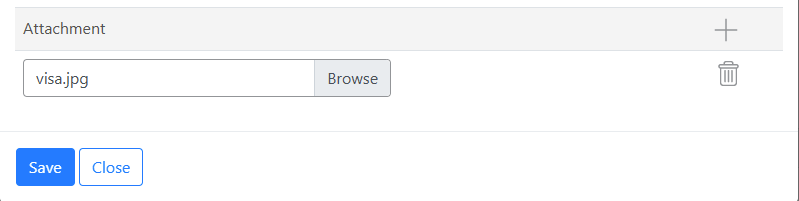
- Upload the document, and then click save.
- After saving, a confirmation prompt will appear; click “Yes” to confirm. The document type will then be displayed on the screen.
- After adding a document, you have the option to download, view, edit, or delete it.

The admin or managers can do this.
Upload employee documents (Employee access)
Employees can upload their documents directly through the system.
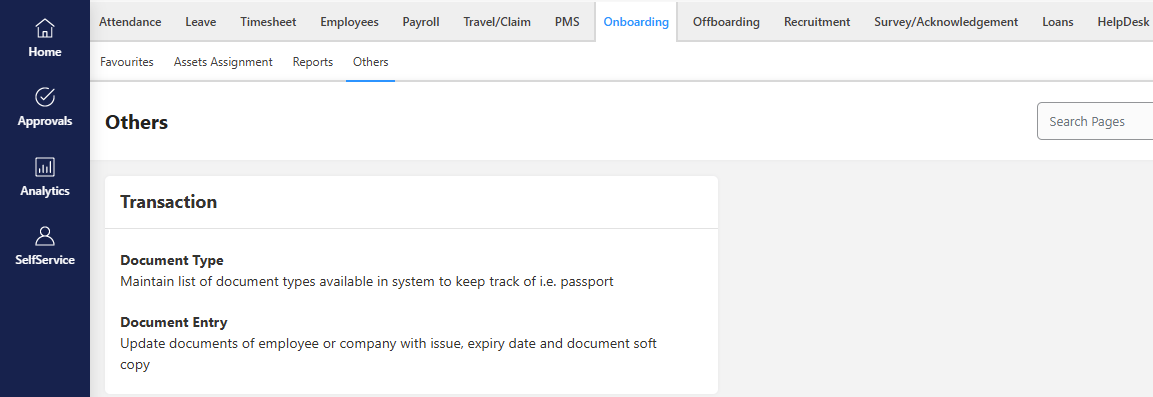
- Go to Selfservice > Onboarding > Others > Document Entry, or simply search for ‘Document Entry’ in the search bar of the home screen.
- The document entry screen will appear.
- Clicking the “+” icon will open a new screen. Fill in all the fields.
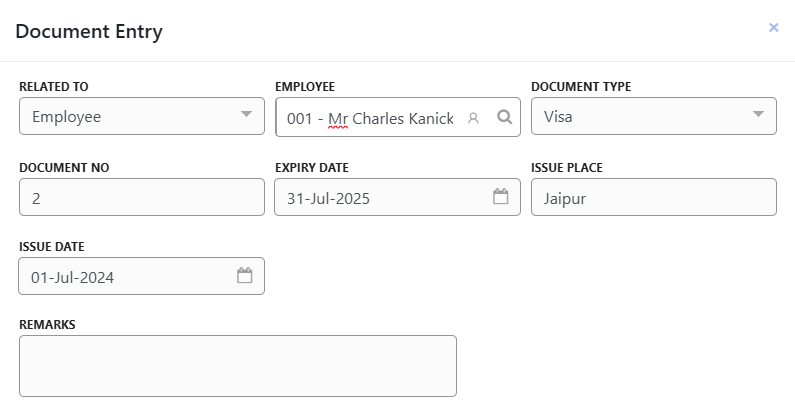
- Upload the document, and then click save.
- Another way to upload documents is by navigating to Self-Service > Employees > Employee Master.
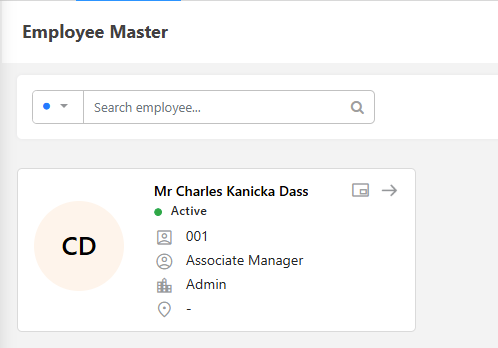
- Click on your profile, then go to the About section and select Document.

- Click the ‘+’ icon to add a new document. Fill in the required details on the document screen and click ‘Save’. Once added, you can view, edit, or delete the document as needed.
Note: Adding or editing a document depends on the rights provided to an employee.
Note: If approval is enabled, simply saving the entry isn’t enough. You need to submit it for review and approval to complete the process.